Accessing the Directory Information
When accessing Directory information, messages can be sent and phone calls made from the mobile device if the appropriate directory information is available. For example, if a person has an email address as part of their directory information, an email can be sent from the mobile device.
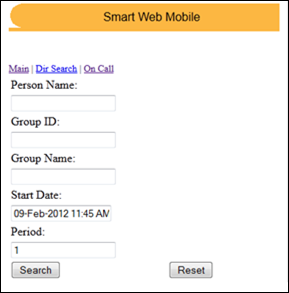
Directory information can be searched for by the person’s name, on-call group name, or on-call group ID, or a combination of the fields.
A partial entry of a name or ID can be used for a search. When a partial entry is made, the wildcard character (%) is assumed at the end of the search entry. If you are searching for a string that could be in the middle or end of a string, such as “%ev”, you should use a wildcard character.
The screen can be cleared of search entries by clicking the Reset button to clear the screen.
Searching for an On-Call Group
When searching for an on-call group, you can also specify the on-call date you are searching for, as well as the length of time from that selected date. Each time period is 24 hours. Directory information for everyone on call during the time period selected is returned.
For example, if you enter February 9th and 8:00 a.m. as the as start date and time, and the time period as 1, directory information for everyone who is on call from February 9th at 8:00 a.m. to February 10th at 8:00 a.m. is returned. If you entered the period as 2, directory information for everyone who is on call from February 9th at 8:00 a.m. to February 11th at 8:00 a.m. is returned.
1. Access Smart Web from your mobile device.
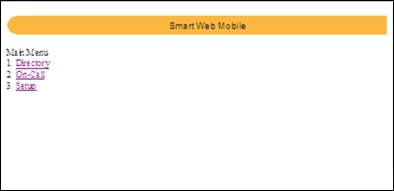
2. Choose the Directory option. The Directory Search screen displays.
3. Search for either a person or the people currently on call for a specific message group.
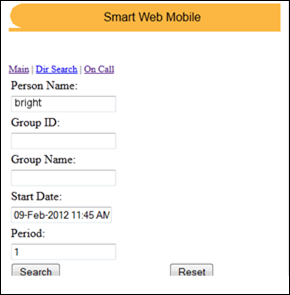
Searching for a Person
Enter a complete or partial name in the Person Name field.
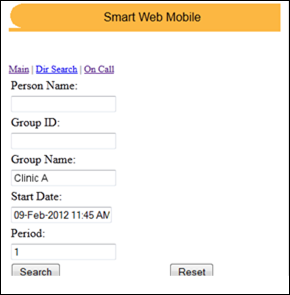
Searching for an On-Call Group
When you search for an on-call group, you can also specify the on-call date you are searching for, as well as the length of time from that selected date. Each time period is 24 hours. Directory information for everyone on call during the time period selected is returned.
a. Enter a complete or partial group ID in the Group ID field, a group name in the Group Name field, or entries in both fields.
b. Enter a start date and time in the Start Date field. By default, directory information for everyone on call for the next 24 hours in the specified group is returned. The date and time format is DD-MON-YYYY HH:MM AM.
c. In the Period field, enter the length of time you want to search. Each period is 24 hours from the start date and time entered in the Start Date field.
4. Click the Search button. The set of directory records that match the search entries are displayed.
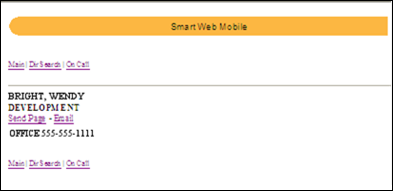
5. From this screen, a page or an email can be sent or a phone call can be made.
Sending a Page
A page can be sent if the directory record has an operable pager assigned. When this is true, the Send Page link displays.
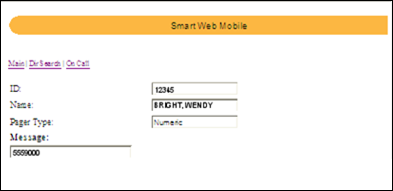
a. Click the Send Page link.
The person’s LISTING ID and name are displayed in the ID and Name fields. If the person can be paged, their pager type displays in the Pager Type field. If the person cannot be paged, a warning message displays to inform you that the message will be stored with an operator.
The pager is selected from the list of pagers created for the person. If more than one pager is available for a person, the pager that has the highest display order is selected. If no display order has been specified, the first pager in the list is selected. The pager display order is specified in the Smart Center forms. For more information about specifying the pager display order, please refer to the Smart Center User’s Guide.
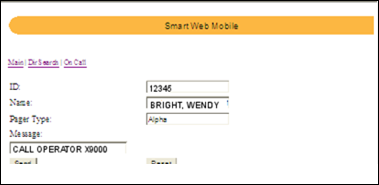
b. Enter the message in the Message field. A message displays in the Message field by default if a default message has been defined using the Setup option. The default message can be manually changed if needed.
Please refer to Entering Default Pager Messages for more information about setting up default pager messages.
c. Click the Send button. A message displays the status of the page.
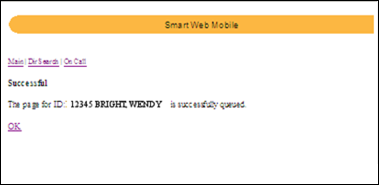
d. Click the OK link to close the screen.
Sending an Email
a. Choose the Email option. The email screen for your device displays.
The email address displays automatically. If more than one email address is available for a person, the address that has the highest display order is selected. If no display order has been specified, the first email address found by the Oracle selection process is selected. You can manually change the email address if needed.
b. Enter a subject for the email in the Subject line.
c. Enter the email text.
d. Send the email using the standard process for the mobile device.
Placing a Phone Call
You cannot place a phone call by clicking on the phone number. The phone number must be manually typed on the device’s keypad.
a. Choose any of the phone numbers listed for a person.
b. Place the call using the standard process for the mobile device.