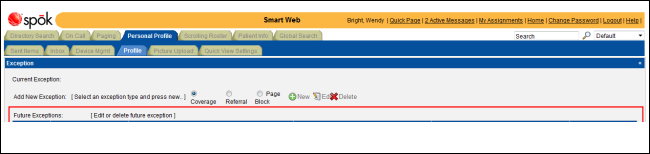
Adding a Coverage Exception
A COVERAGE exception allows a person to assign their responsibilities to another person for a specified period of time. When the original person is paged, the page is sent to the covering person instead.
1. Access Smart Web.
2. Click on the Personal Profile tab and log in if the log in screen displays.
3. Click on the Profile tab.
4. In the Add New Exceptions section, choose the Coverage exception type.
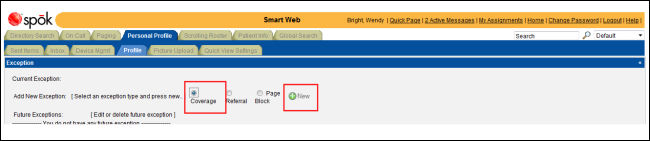
5. Click the New icon to add the exception. The New COVERAGE Exception section displays beneath the Exception section.
6. In the Messaging ID field, specify the messaging ID for the person providing coverage. The messaging ID can be entered manually, or you can click the messaging ID button next to the field to search for a person.
a. Click the messaging ID button next to the field. The Search Msg IDs screen displays.
b. Search for a person by entering a complete or partial messaging ID or name in the Msg ID, First Name, or Last Name fields. An entry can be made in more than one field to limit the names returned.
c. Click the Search button. Any names that contain the search string are displayed.
d. Double-click on a name in the list to select it. The messaging ID for the person selected displays in the Messaging ID field.
7. Select the start and end date and time in the Start and End fields. You can enter the date and time manually, or click the calendar button to select a date from a calendar. The start date and time defaults to the current system date and time.
8. Specify a time zone in the Time Zone field.
9. Enter any notes in the Remark field.
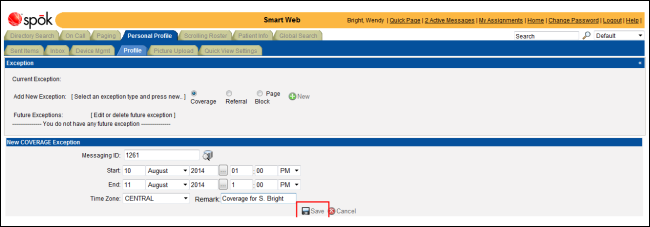
10. Click the Save icon to save the new exception. A message displays.
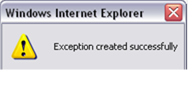
11. Click the OK button to close the message and update the Profile tab. The new exception is added to the list of future exceptions.